
Style
How to Assemble Your First G19-Style Ghost Gun Kit: A Step-by-Step Overview
Feb
How to Assemble Your First G19-Style Ghost Gun Kit: A Step-by-Step Overview
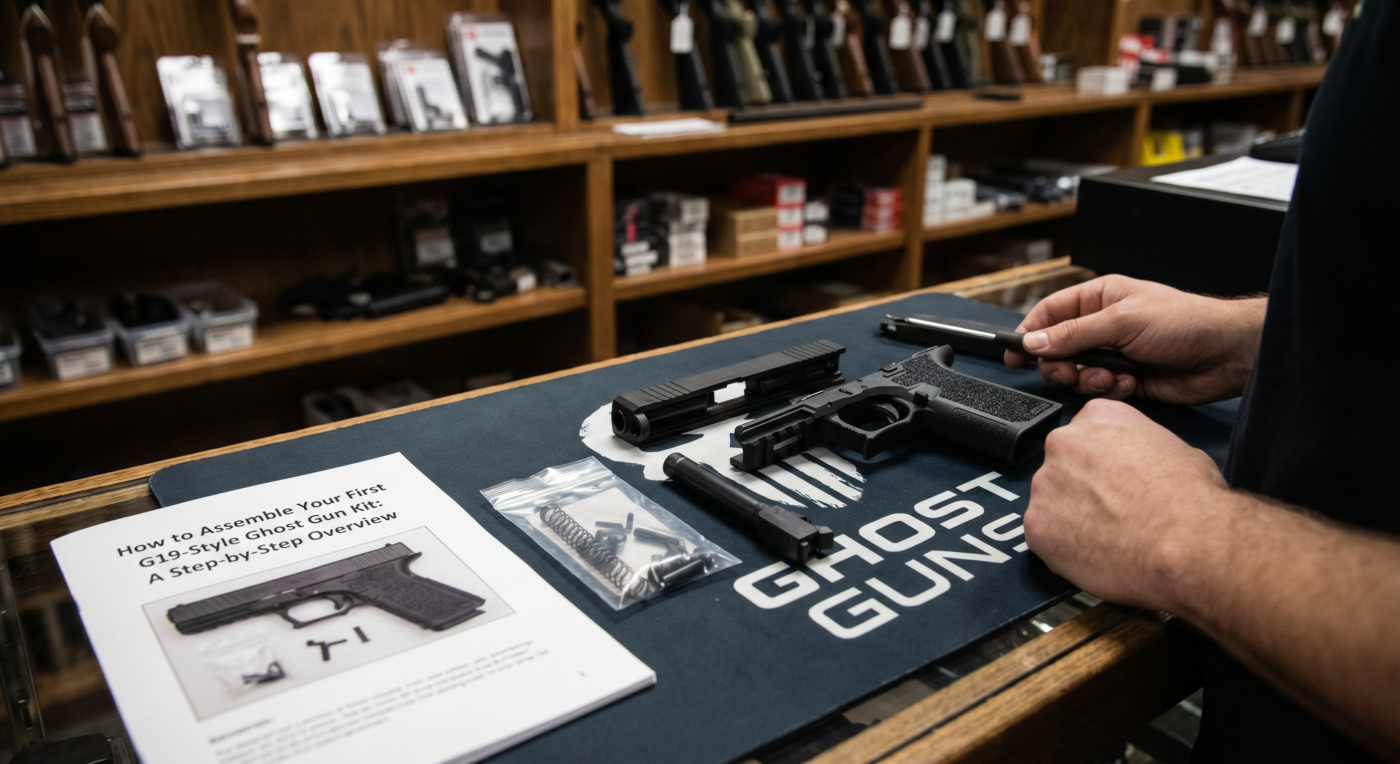
Congratulations on choosing one of the most popular and rewarding firearm build projects: the Glock 19-style 80% pistol. Our complete ghost gun kits provide everything you need to build a reliable 9mm sidearm from start to finish.
This guide provides a high-level overview of the assembly process. Disclaimer: This is for educational purposes only. Always refer to the specific, detailed instructions included with your 80% kit and jig for the final assembly.
H2: What’s in the Box? Your Kit’s Components
Your [Internal Link: G19-Style Complete Ghost Gun Kit] should contain several key groups of parts:
- The 80% Polymer Frame: The unfinished core of your build.
- The Jig & Tooling: The fixture, side plates, and drill bits needed to complete the frame.
- The Complete Slide: A fully assembled upper, including the barrel, sights, and internals.
- The Lower Parts Kit: All the pins, springs, and trigger components needed to finish the frame.
H2: Step 1: Finishing the 80% Frame
This is the most critical step and requires patience and precision. The goal is to use the jig to remove specific polymer sections and drill the pin holes.
- Secure the Frame: Place the 80% frame inside the jig and clamp the two halves together tightly.
- Remove the Top Tabs: Using a hand file or Dremel with a sanding drum, carefully remove the front and rear polymer tabs on top of the frame until they are flush with the jig. Go slowly and check your work often.
- Mill the Barrel Block Channel: Remove the material in the front channel until it is level with the floor of the jig. A clean, flat surface is essential for proper function.
- Drill the Pin Holes: Using the holes in the side of the jig as a guide and a drill press for best results, drill the three pin holes for the trigger mechanism and locking block. Use the correct bit sizes provided.
H2: Step 2: Installing the Lower Parts Kit (LPK)
With the frame complete, you will now install the trigger and control components.
- Magazine Catch: Install the magazine catch and its spring.
- Slide Lock: Insert the slide lock spring and the slide lock itself.
- Locking Block: Press the metal locking block into the front of the frame.
- Trigger Assembly: Install the trigger mechanism, trigger housing, and connector.
- Pin Installation: Secure the entire assembly by installing the trigger pin, locking block pin, and trigger housing pin.
Perform a function check to ensure the trigger resets correctly before proceeding.
H2: Step 3: Final Assembly & Safety Checks
The final step is to join the completed lower frame with the complete slide assembly.
- Attach the Slide: Lightly lubricate the slide rails. Align the slide with the frame rails and rack it to the rear until it locks into place.
- Function Check: With the firearm completely unloaded, perform a full series of safety and function checks. Ensure the trigger works, the slide locks back on an empty magazine, and all safeties function as intended.
You have now successfully built your own G19-style handgun. Your next step is a trip to the range for a safe, live-fire test.
Ready to start your own build? Find the perfect kit for your project.